
Workflow
Screenshot ➔ Compress ➔ Upload ➔ Copy Markdown on macOS
Technical blogging and documentation should feel fluid. Instead of juggling separate screenshot apps, web compressors, and image-hosting uploaders, discover how TinyOwl turns the entire flow into a single keystroke on Apple Silicon.
TinyOwl version note: Written for TinyOwl v0.7.2 (macOS 12+ on Apple Silicon).
The Multi-Tool Friction in Technical Writing
If you write blog posts in Markdown, maintain developer documentation, or author technical newsletters on macOS, you know this repetitive ordeal all too well:
- Capture: Take a clean retina screenshot with macOS native shortcuts (
⇧⌘4or⌃⇧⌘4) or a utility like CleanShot X. The raw capture is saved as a 3 MB to 8 MB uncompressed PNG. - Resize & Compress: Drag the file into a browser tab (TinyPNG/Squoosh) or launch a desktop compressor to convert it to WebP and scale down 2x resolution.
- Upload to Storage: Open an image-hosting tool (e.g., PicGo, an S3 GUI, or the cloud provider’s web console) to push the file to your bucket.
- Format Link: Copy the final object key, assemble your CDN domain, write
, and paste it back into Obsidian, VS Code, or Notion.
Repeating this ten times per technical article disrupts your writing flow and turns documentation into chore work.
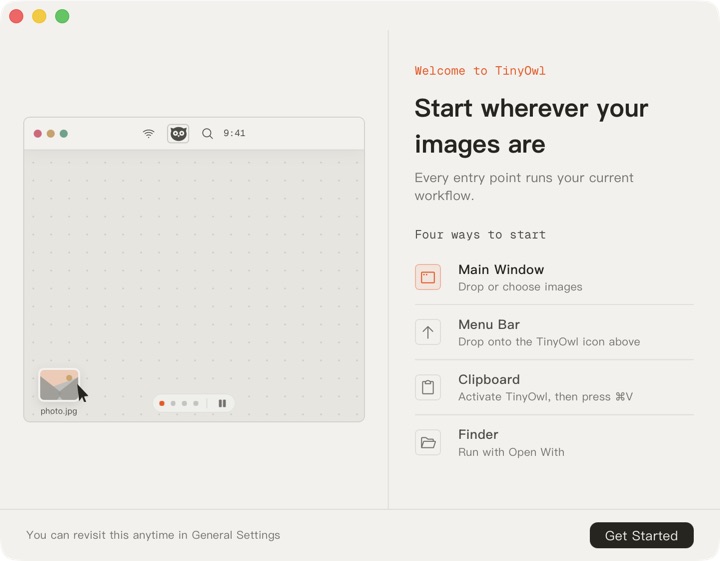
The Streamlined Pipeline: From Clipboard to Markdown
With TinyOwl, the entire sequence collapses into a unified local workflow:
macOS Clipboard (Retina PNG) ➔ TinyOwl [⌘V] ➔ Resize to 1400px + WebP Q75 ➔ Direct Upload (R2/S3/OSS/COS) ➔ Copy Markdown LinkBecause TinyOwl is built with a native Rust core for Apple Silicon:
- Zero local file clutter: You do not need to save intermediate PNGs onto your desktop or trash temporary files after uploading.
- One reusable flow: Resize, WebP encoding, and upload settings live in one workflow instead of several separate tools.
- Privacy preserved: The source image never touches an intermediary proxy service. It moves directly from your local RAM to your own secure cloud bucket.
Step-by-Step Setup Guide
Follow this one-time setup to configure your automated writing workflow:
1. Configure Your Cloud Storage Provider
TinyOwl supports Cloudflare R2, AWS S3, Alibaba Cloud OSS, Tencent Cloud COS, MinIO, and generic S3-compatible endpoints:
- Open TinyOwl and press
⌘,to enter Settings. - Go to Upload Providers ➔ Click Add Upload Provider.
- Choose your provider (e.g., Cloudflare R2 or Alibaba OSS).
- Enter your bucket name, API credentials, and Public Base URL (e.g.,
https://cdn.example.com). - Click Test connection to verify connectivity.
2. Configure a Reusable Markdown Workflow
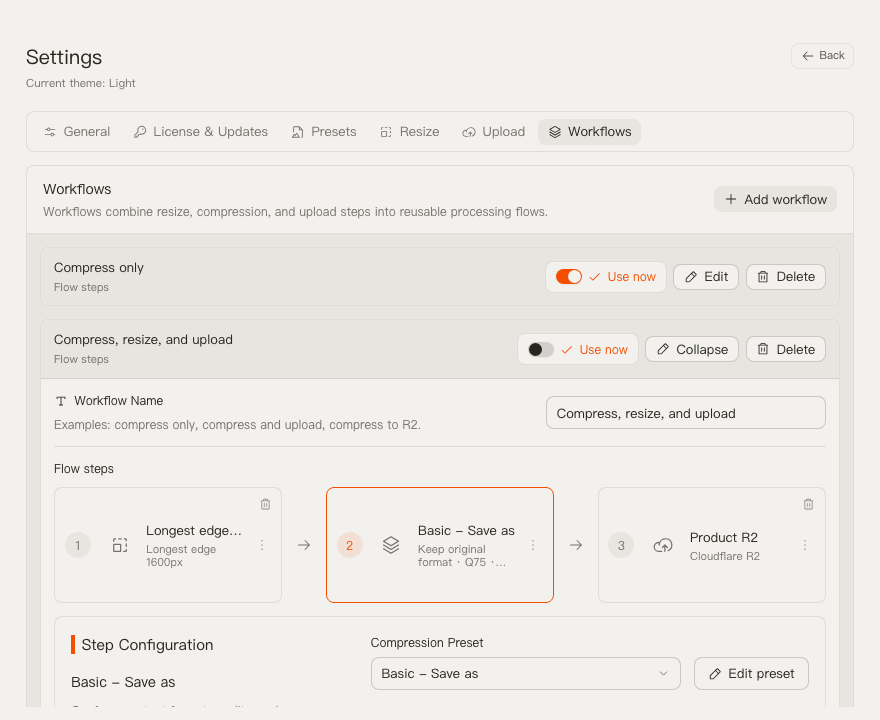
- In TinyOwl Settings, navigate to Workflows ➔ Click Add workflow.
- Name the workflow
Blog Screenshot to Markdown. - Set up the three steps:
- Step 1: Resize (Optional): Add a resize preset. Select Width 1200px or Longest edge 1600px. This automatically scales down retina screen captures so they render crisp on web pages without wasting bandwidth.
- Step 2: Compression (Required): Select the built-in WebP - Save as preset (or custom preset with Balanced Q75).
- Step 3: Upload (Required): Select your storage provider from Step 1.
- Set the Path Template to
{yyyy}/{mm}/{dd}(e.g.,2026/09/20). - Set the Filename Strategy to
timestampedorrandomto ensure every screenshot gets a unique URL.
- Set the Path Template to
- Click Use now to make this workflow the active workflow in TinyOwl.
Daily Writing Workflow: How It Works in Practice
Once configured, incorporating images into your articles takes two keystrokes:
- Capture directly to clipboard:
- Press
⌃⇧⌘4(Control + Shift + Command + 4) on macOS to capture a rectangular selection straight to your clipboard (or use your preferred screenshot shortcut).
- Press
- Send to TinyOwl:
- Click the TinyOwl icon in the menu bar (or activate the app with Spotlight/Raycast) and press
⌘V.
- Click the TinyOwl icon in the menu bar (or activate the app with Spotlight/Raycast) and press
- Copy formatted link:
- TinyOwl immediately resizes the capture, encodes it to WebP in memory, uploads it to your bucket, and displays a green notification with a Copy Link button.
- The copied link gives you the ready-to-use public URL, or you can format it directly as:
 - Paste into your editor:
- Switch back to Obsidian, VS Code, or your Markdown editor, and press
⌘V. You’re done!
- Switch back to Obsidian, VS Code, or your Markdown editor, and press
Comparison with Legacy Stacks (PicGo + TinyPNG Scripts)
Many developers historically relied on a patchwork of Node.js scripts, Electron apps, or PicGo plugins:
| Dimension | Legacy Stack (CleanShot + PicGo + TinyPNG Plugin) | Modern Stack (TinyOwl) |
|---|---|---|
| Workflow | Separate capture, optimization, and upload tools | One configured TinyOwl workflow |
| Processing | Depends on the tools and services you choose | Image processing runs locally before the optional upload |
| Compression Logic | Calls external TinyPNG API (network latency, monthly API costs) | 100% on-device local compression via multi-core SIMD |
| Failure Points | Plugin dependency drift, Node version mismatches, Electron memory leaks | Zero external runtime dependencies, standalone binary |
| Pricing | Monthly SaaS API subscriptions or fragile open-source plugins | One-time buyout (~$9 early bird / ¥49) with lifetime updates |
What to Measure in Your Own Workflow
Use a small representative set of your own screenshots to compare output size, readability, upload path, and time spent switching tools. Results vary by source image, preset, connection, and storage provider.